Hey there, tech enthusiasts! If you're diving into the world of IoT (Internet of Things) and you're using Ubuntu as your go-to operating system, then mastering SSH login IoT Ubuntu is a must-have skill. Imagine being able to access your IoT devices remotely, troubleshoot issues from the comfort of your couch, or even automate tasks without needing physical access. Sounds cool, right? Well, that's exactly what SSH (Secure Shell) brings to the table. Let's get started and unravel the magic of SSH for IoT on Ubuntu.
Now, before we jump into the nitty-gritty, let's clear something up. SSH isn't just some random tech term; it's your key to unlocking remote access to your IoT devices. Whether you're managing a fleet of smart sensors or controlling a Raspberry Pi from miles away, SSH ensures your connection is secure and reliable. This guide will walk you through everything you need to know, step by step, so even if you're a beginner, you'll be good to go.
So, why should you care about SSH login IoT Ubuntu? Because in today's interconnected world, security and accessibility are non-negotiable. SSH provides both, and by the end of this guide, you'll have the skills to set it up, manage it, and troubleshoot any issues that might come your way. Let's make sure you're not just surviving but thriving in the IoT game.
Read also:1985 Is The Year Of What Animal Discover The Zodiac Magic
What is SSH and Why Should You Care?
Alright, let's break it down. SSH, or Secure Shell, is like your personal bodyguard in the digital world. It creates a secure, encrypted connection between your computer and your IoT devices running on Ubuntu. This means that even if someone tries to eavesdrop on your connection, they won't be able to make sense of what's being transmitted. SSH isn't just for IoT; it's widely used across various industries for secure remote access.
Key Benefits of Using SSH
Here's why SSH is a game-changer:
- Security: SSH encrypts all data transmitted between your device and the server, keeping sensitive information safe.
- Flexibility: With SSH, you can access your IoT devices from anywhere in the world, as long as you have an internet connection.
- Automation: SSH allows you to automate tasks, making your IoT setup more efficient and less prone to human error.
- Reliability: SSH connections are stable and can handle complex operations without dropping out.
So, whether you're a hobbyist tinkering with home automation or a professional managing large-scale IoT deployments, SSH is your best friend. Let's move on and see how it fits into the Ubuntu ecosystem.
SSH Login IoT Ubuntu: The Perfect Combo
Ubuntu is a favorite among IoT enthusiasts for a reason. It's lightweight, reliable, and packed with features that make it perfect for running on IoT devices. Combine that with SSH, and you've got a powerhouse setup that can handle anything you throw at it. But how do you get started with SSH login IoT Ubuntu? Let's break it down step by step.
Setting Up SSH on Ubuntu
First things first, you need to make sure SSH is installed and running on your Ubuntu system. Here's how you do it:
- Open a terminal on your Ubuntu device.
- Type the following command to install SSH:
sudo apt update && sudo apt install openssh-server. - Once installed, check if SSH is running by typing:
sudo systemctl status ssh.
If everything is set up correctly, you should see a message indicating that SSH is active and running. Now, you're ready to connect to your IoT devices securely.
Read also:Ken Walh The Rising Star In The World Of Entertainment And Beyond
Connecting to Your IoT Devices with SSH
Connecting to your IoT devices using SSH is easier than you think. All you need is the IP address of your device and a terminal or SSH client on your computer. Here's how you do it:
Step-by-Step Guide
Follow these simple steps:
- Open your terminal or SSH client.
- Type:
ssh username@IP_ADDRESS. Replaceusernamewith your IoT device's username andIP_ADDRESSwith the actual IP address of your device. - When prompted, enter your password.
- Voila! You're now connected to your IoT device via SSH.
It's that simple. Now you can manage your IoT devices from anywhere, as long as you have an internet connection. But wait, there's more. Let's dive into some advanced tips and tricks to make your SSH experience even better.
Enhancing Your SSH Experience
Once you've got the basics down, it's time to take your SSH skills to the next level. Here are a few tips to enhance your SSH experience:
1. Using SSH Keys for Authentication
Passwords are great, but SSH keys are even better. They provide an extra layer of security and make logging in faster and more convenient. Here's how you set them up:
- Generate an SSH key pair by typing:
ssh-keygen. - Copy your public key to your IoT device:
ssh-copy-id username@IP_ADDRESS. - Now, you can log in without needing to enter a password every time.
SSH keys are a must-have for anyone serious about IoT security.
2. Configuring SSH Settings
Tweaking your SSH settings can improve performance and security. Here's what you can do:
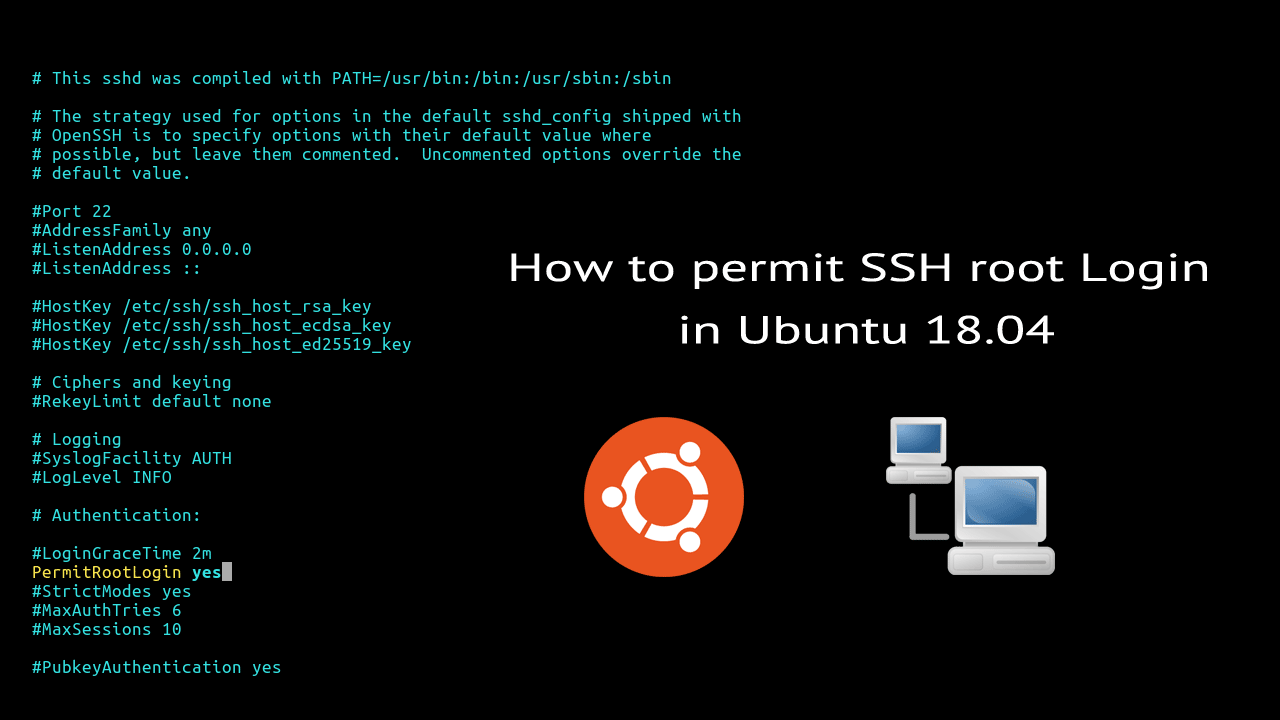
- Edit the SSH config file:
sudo nano /etc/ssh/sshd_config. - Change settings like port numbers, disable password authentication, and more.
- Restart SSH to apply changes:
sudo systemctl restart ssh.
Customizing your SSH setup ensures it meets your specific needs and enhances security.
Common Issues and Troubleshooting
Even the best-laid plans can hit a snag. Here are some common issues you might encounter with SSH login IoT Ubuntu and how to fix them:
1. Connection Refused
If you're getting a "Connection refused" error, it usually means SSH isn't running or the port is blocked. Here's what to check:
- Make sure SSH is installed and running on your IoT device.
- Check if the port (default is 22) is open and not blocked by a firewall.
2. Permission Denied
This error often occurs when there's an issue with authentication. Here's how to fix it:
- Ensure you're using the correct username and password.
- If using SSH keys, make sure the public key is correctly added to the authorized_keys file on your IoT device.
By addressing these common issues, you'll ensure a smooth SSH experience.
Security Best Practices for SSH Login IoT Ubuntu
Security is paramount when dealing with IoT devices. Here are some best practices to keep your SSH setup secure:
1. Use Strong Passwords
Weak passwords are a hacker's dream. Make sure your passwords are strong and unique.
2. Regularly Update Your System
Keep your Ubuntu system and SSH server up to date to protect against vulnerabilities.
3. Limit Access
Restrict SSH access to only those who need it. Use firewalls and IP whitelisting to control who can connect.
Following these best practices will help safeguard your IoT devices against potential threats.
Real-World Applications of SSH Login IoT Ubuntu
SSH isn't just for tech enthusiasts; it has real-world applications that can benefit businesses and individuals alike. Here are a few examples:
1. Remote Monitoring and Control
With SSH, you can monitor and control IoT devices from anywhere. This is perfect for managing smart home systems, industrial sensors, and more.
2. Data Collection and Analysis
SSH allows you to securely collect and analyze data from IoT devices, helping you make informed decisions.
3. Automation
Automate routine tasks on your IoT devices using SSH scripts, saving you time and effort.
These applications highlight the versatility and power of SSH in the IoT space.
Future Trends in SSH and IoT
The world of IoT is evolving rapidly, and SSH is keeping up with the pace. Here are some trends to watch out for:
1. Enhanced Security Protocols
As security threats evolve, SSH protocols will continue to improve, providing even stronger protection for your IoT devices.
2. Integration with Cloud Services
SSH is increasingly being integrated with cloud services, making it easier to manage IoT devices at scale.
3. AI-Powered SSH Management
AI is set to revolutionize how we manage SSH connections, offering smarter and more efficient solutions.
Staying ahead of these trends will ensure your SSH setup remains cutting-edge.
Conclusion
And there you have it, folks! SSH login IoT Ubuntu is a powerful tool that can transform the way you manage your IoT devices. By following the steps and tips outlined in this guide, you'll be well on your way to mastering SSH and unlocking its full potential. Remember, security and accessibility go hand in hand, so always prioritize best practices to keep your devices safe.
Now it's your turn. Take what you've learned, experiment with SSH, and see how it can enhance your IoT projects. Don't forget to share your experiences and tips in the comments below. And if you found this guide helpful, why not check out our other articles on IoT and Ubuntu? There's always more to learn, and we're here to help you every step of the way.
Happy hacking and stay secure!
Table of Contents
What is SSH and Why Should You Care?
SSH Login IoT Ubuntu: The Perfect Combo
Connecting to Your IoT Devices with SSH
Common Issues and Troubleshooting
Security Best Practices for SSH Login IoT Ubuntu